04 May 2010

{backsplash finished}

the backsplash tile has been up but i'll be honest, i've been putting off grouting. it sounded intimidating and messy, but finally couldn't be ignored any longer. and to my surprise, it ended up being a lot easier than i anticipated and makes the kitchen look so much more polished.

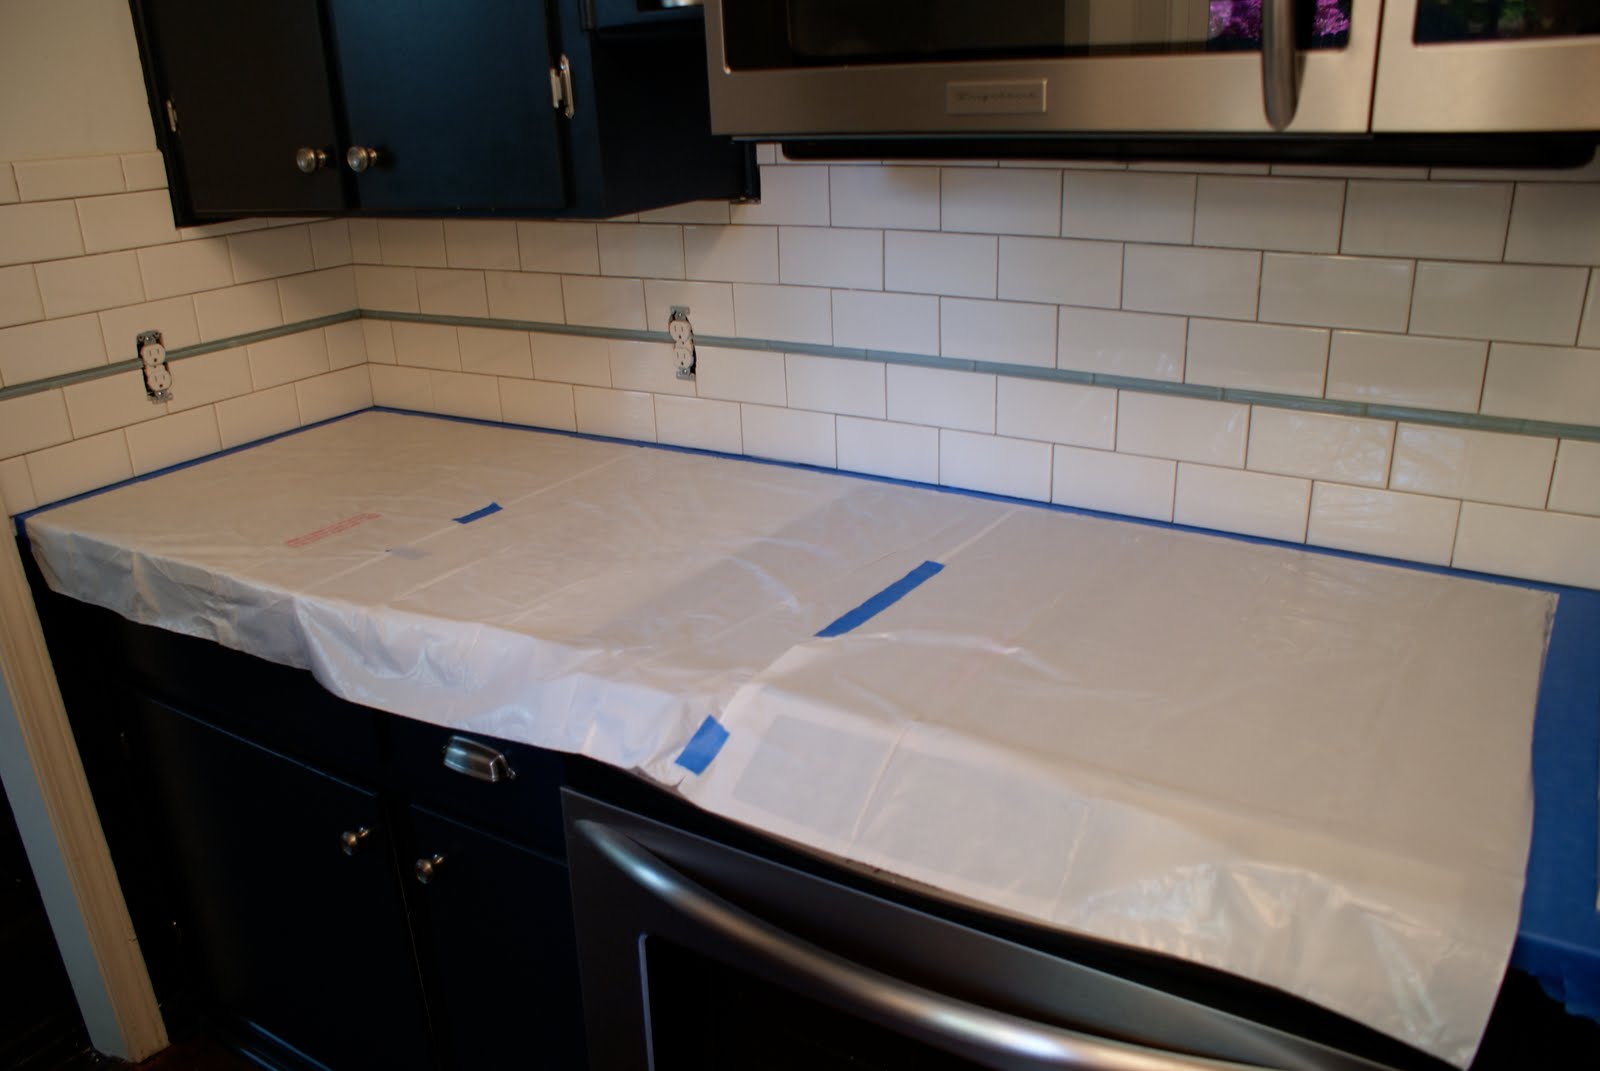
here's the before picture, along with the prep work to make sure the counters were protected {carrara marble is very porous so to protect it i just used cheap-o trash bags and painters tape}

here's the other side all ready to go as well.
here are the supplies used for grouting. i was thinking gloves would be much more necessary than they were and actually found they got more in the way and made for a messier grout job so about a quarter of the way through, i ditched the gloves. grout comes off your hands pretty easily when it's still wet, so it's really no big deal not to wear gloves. the tools you see pictured are called floats and come in various sizes for smaller spaces and corners. i also found that i had to use my fingers in a few tight spaces, which worked just fine. finally is the grout sponge which is used to wipe down the tile and keep the grout only in the lines. you can find all of these things in the tile section at lowes. though i will say, if you are looking for a colored grout, you might be better served to go to a tile shop for a bigger selection.
mixing the grout {note - this particular grout is unsanded because the gaps are so small. if you are grouting a different area with larger spaces, you may want a sanded grout --i.e. has little particles of sand in it-- definitely ask around or consult the internet if you are unsure of what kind you need}. you can mix it by hand with a paint stick but we bought a metal mixer that can be attached to a drill and it made the job a lot easier and faster.
this is taken after applying the grout with a float -- obviously it looks messy here and will be for a few minutes until it sets enough to then wipe it down with a sponge. read the instructions on the bag to make sure you wait the right amount of time. i think it was only about 15 minutes.
and the final step is wiping down the tile with the sponge and here's how it looks.
finally can put faceplates back on and set up shop.
i will also say that caulking the gap where the bottom tile and the counter meet is highly recommended. you can grout that line but caulk is much more effective in keeping potential splashes of water from getting behind the counter. and really, if you are using white grout, it blends right in.

all in all, grouting the backsplash was a much easier project than i'd expected and i completed it within a few hours.
more to come, as always.

03 May 2010

{monday shoes}

taking the friendship bracelet to sophisticated sandal.
{jeffrey campbell's tier sandal with fabric at need supply for $75. and i swear there was a coupon code in the most recent people style watch for 20% off need supply, but i've completely forgotten what it was. not helpful at all..will try to update later}

30 April 2010

{english den}

oil painting gallery + cozy chairs make one glamorous fireplace.

26 April 2010

{monday birthday shoes}

today is my 27th birthday and if b hadn't gotten these for my birthday i might have asked for these black chevron beauties.

{luichiny be true wedge sandal at endless for $89}

21 April 2010

{back door landing}

just a quick post to show off b's new deck outside our back entrance.
before - uneven concrete pad.
with a strange step down before the gate.
annnd after - brand new!
and the awkward step is covered which has the added benefit of making the landing area larger.
now we just need to do something about those cinder block stairs {thinking paint}

19 April 2010

{monday shoes}

cynthia vincent for target launched yesterday. unfortunately it looks as if they are already sold out online, so you'll have to head to your local target to see if they still have your size.

{cynthia vincent for target - *all* under $30! - gladiator wedge sandals, print wedge sandals, strappy ring flat sandals, print ballet flats}

15 April 2010

{dove grey den}

have been meaning to post these for a while now, but here are just a few recent photos of the den. considering this was the last you saw of it, we've come a long way.
the trim has finally been caulked & painted. just need some frames on the walls and curtains on the windows but things are really starting to feel like home.
and somebody loves the sunshine...

12 April 2010

{monday shoes}

gladiators are still big for spring/summer. and now some are on sale!


{nude footware shelley beach on sale at piperlime for $69, nine west buzzy beach on sale at piperlime for $59}

09 April 2010

{backsplash beauty}

first foray in the world of tiling seems to have been a success. haven't added the grout yet but the layout seems to have come together quite nicely. and just in a weekend {plus or minus a few afternoons since lowes did not have enough tile in stock the first weekend around} our kitchen is transformed from ugly wallboard to gleaming subway tile {and at $.24 a tile from lowes, you can't beat the cost}

and let me tell you, you can do it too. here's how we started in the corner with every other subway tile cut in half to give us the beginning layout for a bricked pattern. those green circle things are the spacers and are important in keeping the tile from sliding.

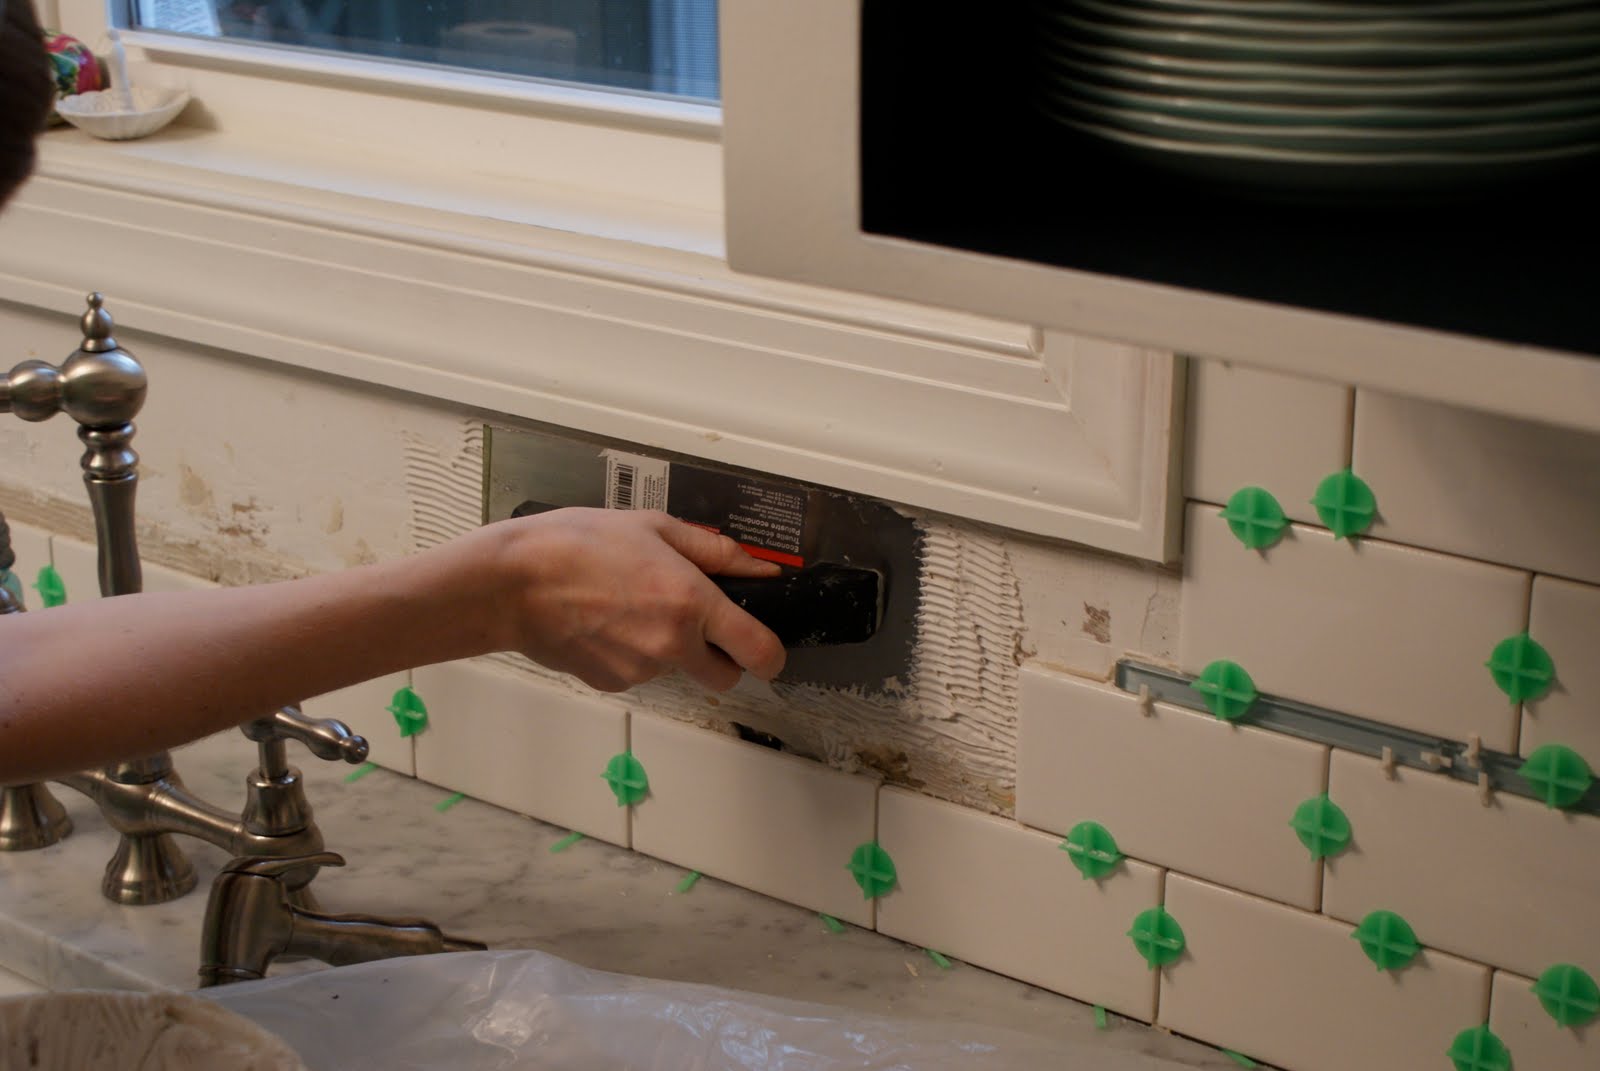
first you coat the wall with adhesive which is a very similar consistency to spackle and not very sticky, so it's easy to clean up if you are a messy tiler. the tool here has grooves in it to give the tiles a greater surface area on which to stick. {note-if you are laying larger tiles the tool you use should have larger grooves} you can also see in this photo the skinny aqua glass tile in the middle with smaller white spacers since the green circle ones were too big. glass tile is much more expensive than subway tile so this is a way to get a more unique look that is still low cost.

and here's the sink side waiting with all the spacers for the adhesive to dry overnight

another view.

the trickiest part of tiling is tiling the areas that are smaller than a full sized tile.

here's the tool we used to cut the tile to fit in all those smaller spaces. cutting tile sounds intimidating but it's really easy and this tool {i forget what it's called...tile cutter?} is available at lowes for less than $20 {though if you need a bigger one for larger tiles, it increases in price as you increase in size. but i think even the biggest sized one was under $75} basically what you do is measure the tile, mark it with a wax pencil, score it with the tile cutter...

and then use the tool to snap the tile along the line you just scored.

here's a zoomed out view of the workspace. the small bucket of adhesive on the left was more than plenty for both sides of our kitchen. also note the green handled tool on the right corner of the counter. these are tile nippers and are really useful for cutting tile to go around outlets.

and finally a view without green spacers.

as for the outlets, they are by far the biggest pain of tiling. one of the good things though is that you can lay tile right over imperfections of the wallboard.

here are a few close-ups of tiling around the outlets & switches. oh note that the bottom metal part on the outlets/switches has to go over the tile. meaning you have to unscrew it and then fit the tile behind it. otherwise, the tile wouldn't lay flat and the outlet would be too far recessed.

the cuts definitely don't have to be perfect or even because...

you just pop the covers over them and no one ever sees.

more to come in the world of grouting!

have a wonderful weekend! sorry for the lack of posts this week, have been having trouble with the blogger website.

05 April 2010

{monday shoes}

spring espadrilles can come with style and comfort {according to reviews!}

{fossil sofia wedge at piperlime for $88}