25 May 2010

{bungalow sunset}

b took this photo tonight from our bedroom window {and with his cell phone no less} and i had to post it. lots of rain makes for an incredibly high tide. and an incredibly beautiful sunset.

21 May 2010

{adventures with sod}

big things have happened in the side yard.

to give you an idea of just how big, here's where we started:

and here's where we are now:

as for the process, it involved pulling up the huge azalea bush and all of the ivy vines and weeds rooted and tangled in the entire yard {along with a few concrete slabs --thinking previous owners had a sidewalk at one point?--, several buried wooden planks, a plastic cherub, old bottle caps, and a metal heart that looks to have formerly been a part of a wind chime, among other treasures.}. we then trenched out where the flower beds would eventually go {my mother informed us this is called v-ditching} and leveled the dirt as best we could.

here's another before photo of a different view. at one point there must have been a formal savannah garden here with bricked flower beds, but the brick had fallen apart so much that we decided to tear some of it out to make room for a bigger patio and to create a more unified space in the side yard.

ok and i won't lie, we did have extra help in the form of b's inherited big orange tractor for removing the bricks and leveling dirt.

and once the dirt was level and as free of weeds as we could get it, it was time to lay the sod. and before going any further, i have to send a huge *huge* thank you out to kl, without whom, we could never have finished the job in one day {laying the sod that is. the prep work was over several weekends with help from mom & dad, so thanks to them too!} here's a photo of the sod all stacked up on the pallets. we foolishly thought we'd save money and could easily transport the sod on pallet from the garden store to the bungalow in the back of b's truck. after witnessing the sod turn the truck into quite the low rider within half a second, we decided to spring for the $50 delivery fee.

laying sod is actually a pretty simple task. just outline the area with the sod first and then fill it in. our sod is st. augustine grass, which supposedly thrives in southern hot & humid climates and does well in sun and some shade. it had been pre-fertilized so we just needed to make sure the soil was level and well-tilled.

and just so you remember how the yard looked from this view previously {this photo from my post about the back landing}...

and here's how the sod has greened everything right up! the dirt area on the right will eventually be a lovely flower bed and the area to the left will eventually be a stone patio. and note the sprinkler -- the biggest challenge with new sod, making sure it's watered enough to take root. so far, so good for the bungalow sod.

and here's another view. here you can see where we kept some of the bricked raised flower beds along the perimeter and how removing some of the brick opened up the yard and allowed for a perfect space for a future patio.

20 May 2010

{farmhouse dining}

love. farmhouse table + robin's egg blue upholstered & hint of suzani louis style chairs + white painted brick + antiqued gold mirror + cozy tribal chair + pink peonies {can't see for certain, but that's what i'd choose} + crystals + have you ever even seen matching taper candlesticks...

found my very own farmhouse table today. rustic and primitive and seven feet in length. perfect for parties and future families alike. there it was: disguised by four old carpets, covered with pollen, nestled in the back of a shed. somewhere in the countryside just south of georgetown, south carolina. no truck today so come fourth of july weekend, it will travel home. yard sale funds finally found worthy cause.

won't you come over for dinner?

{p.s. beautiful dining room designed by emma jane pilkington via little green notebook}

17 May 2010

{monday yellow shoes}

ok sorry j, had to tell everyone about your cute yellow shoes. yes, my sister found these perfect --and she reports-- comfortable flats and every time she wears them i wish they were mine. {they especially compliment her dark washed cigarette cut jeans} and might i add that the pointe shoe look is very flattering to the foot.

{in other colors too - bandolino gingers at shoe woo {no idea about the site...new to me too} for $49}

12 May 2010

{belated monday shoes}

was traveling back from a full weekend of events for my baby sister's graduation {hooooray hhs -- so proud of you!} in richmond so sorry for the belated monday shoes. but i saw these cute {and comfortable i'd bet} wedges and couldn't help but post them even though two days late. they made it on piperlime's "getaway list" which has gotten me thinking about packing for b & my trip to orlando in two weeks for our 2nd anniversary {amazing that it's already been 2 years...} and yes, disney world is on our itinerary.


{hive and honey santana wedges at piperlime for $85}

04 May 2010

{backsplash finished}

the backsplash tile has been up but i'll be honest, i've been putting off grouting. it sounded intimidating and messy, but finally couldn't be ignored any longer. and to my surprise, it ended up being a lot easier than i anticipated and makes the kitchen look so much more polished.

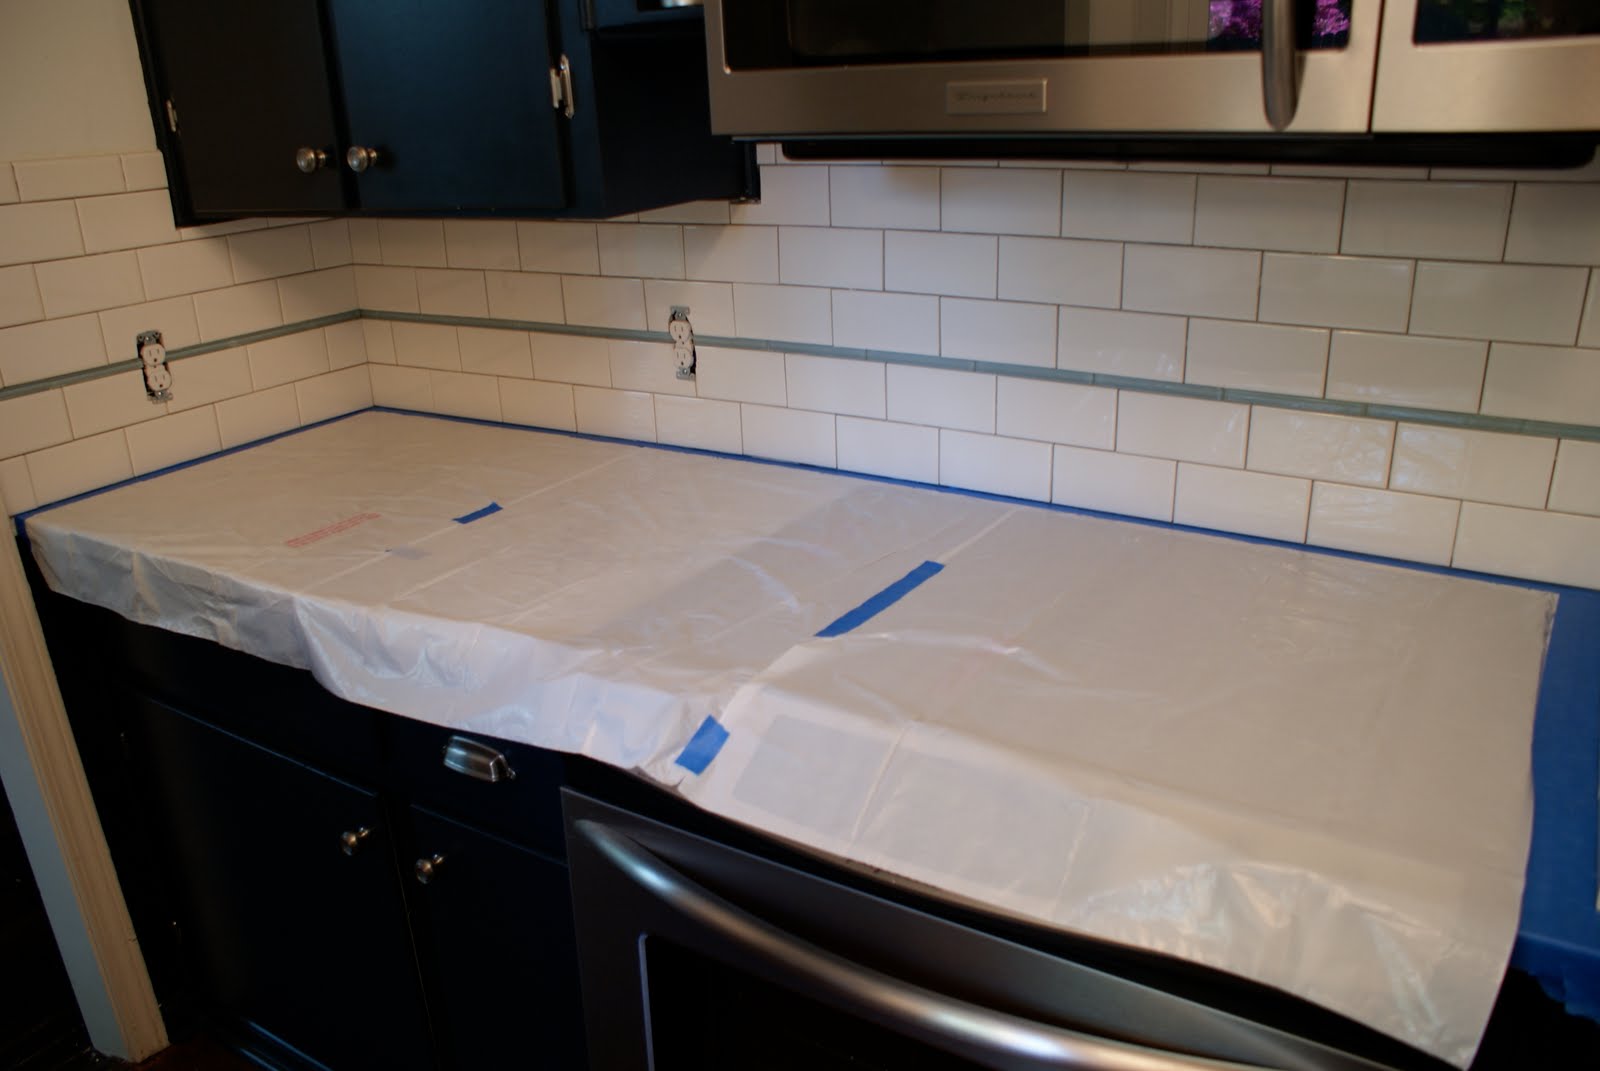
here's the before picture, along with the prep work to make sure the counters were protected {carrara marble is very porous so to protect it i just used cheap-o trash bags and painters tape}

here's the other side all ready to go as well.
here are the supplies used for grouting. i was thinking gloves would be much more necessary than they were and actually found they got more in the way and made for a messier grout job so about a quarter of the way through, i ditched the gloves. grout comes off your hands pretty easily when it's still wet, so it's really no big deal not to wear gloves. the tools you see pictured are called floats and come in various sizes for smaller spaces and corners. i also found that i had to use my fingers in a few tight spaces, which worked just fine. finally is the grout sponge which is used to wipe down the tile and keep the grout only in the lines. you can find all of these things in the tile section at lowes. though i will say, if you are looking for a colored grout, you might be better served to go to a tile shop for a bigger selection.
mixing the grout {note - this particular grout is unsanded because the gaps are so small. if you are grouting a different area with larger spaces, you may want a sanded grout --i.e. has little particles of sand in it-- definitely ask around or consult the internet if you are unsure of what kind you need}. you can mix it by hand with a paint stick but we bought a metal mixer that can be attached to a drill and it made the job a lot easier and faster.
this is taken after applying the grout with a float -- obviously it looks messy here and will be for a few minutes until it sets enough to then wipe it down with a sponge. read the instructions on the bag to make sure you wait the right amount of time. i think it was only about 15 minutes.
and the final step is wiping down the tile with the sponge and here's how it looks.
finally can put faceplates back on and set up shop.
i will also say that caulking the gap where the bottom tile and the counter meet is highly recommended. you can grout that line but caulk is much more effective in keeping potential splashes of water from getting behind the counter. and really, if you are using white grout, it blends right in.

all in all, grouting the backsplash was a much easier project than i'd expected and i completed it within a few hours.
more to come, as always.

03 May 2010

{monday shoes}

taking the friendship bracelet to sophisticated sandal.
{jeffrey campbell's tier sandal with fabric at need supply for $75. and i swear there was a coupon code in the most recent people style watch for 20% off need supply, but i've completely forgotten what it was. not helpful at all..will try to update later}